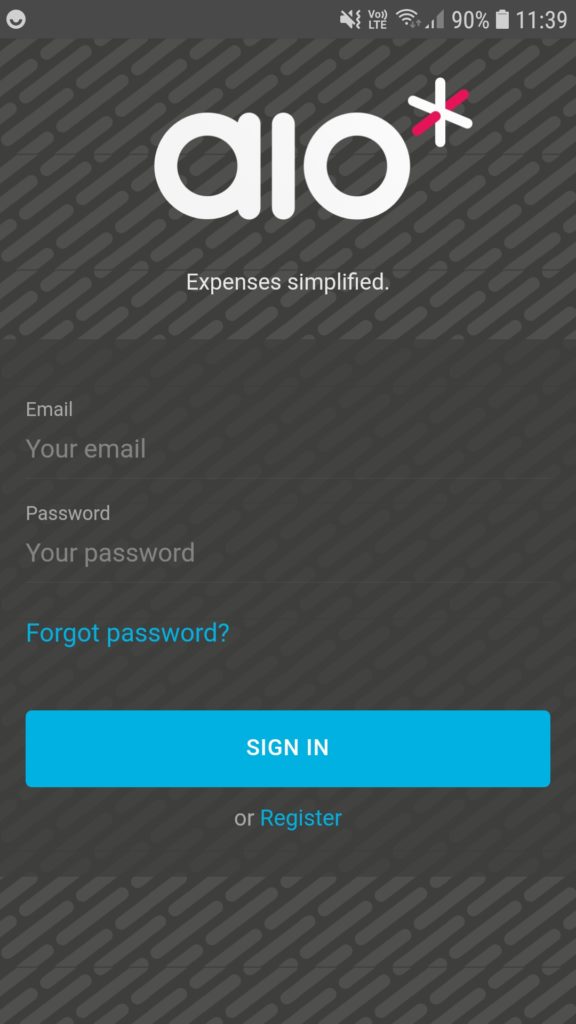
Here’s a guide with screenshots to show how to take pictures of receipts in aio*
 |
|
|
|
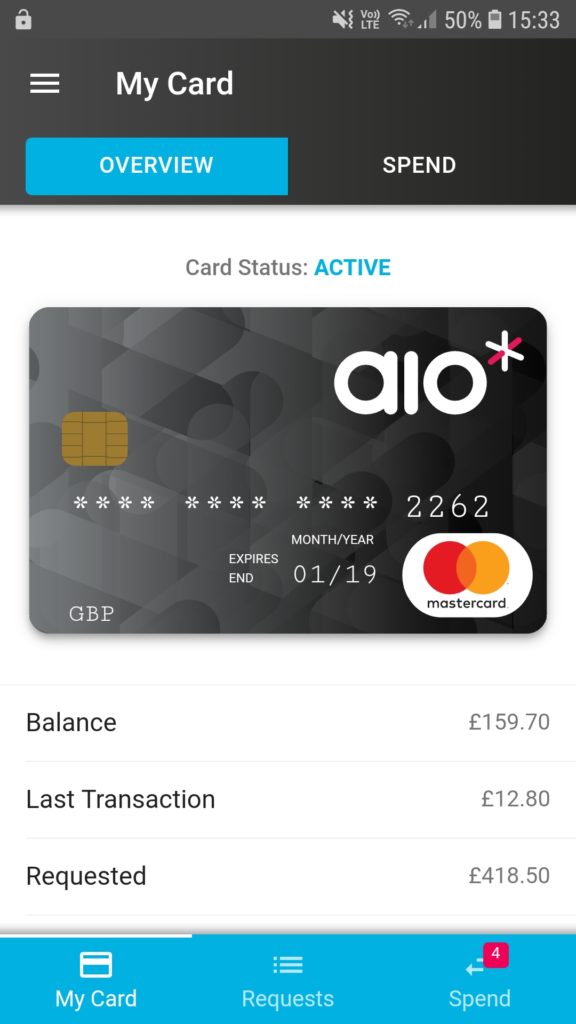 |
- Tap on top right hand tab “SPEND” or bottom right tab that says “Spend” to view your transactions
- If you have uncategorised transactions then a red box with a number indicating how many uncategorised transactions you have will show on the bottom right“Spend” tab
|
|
|
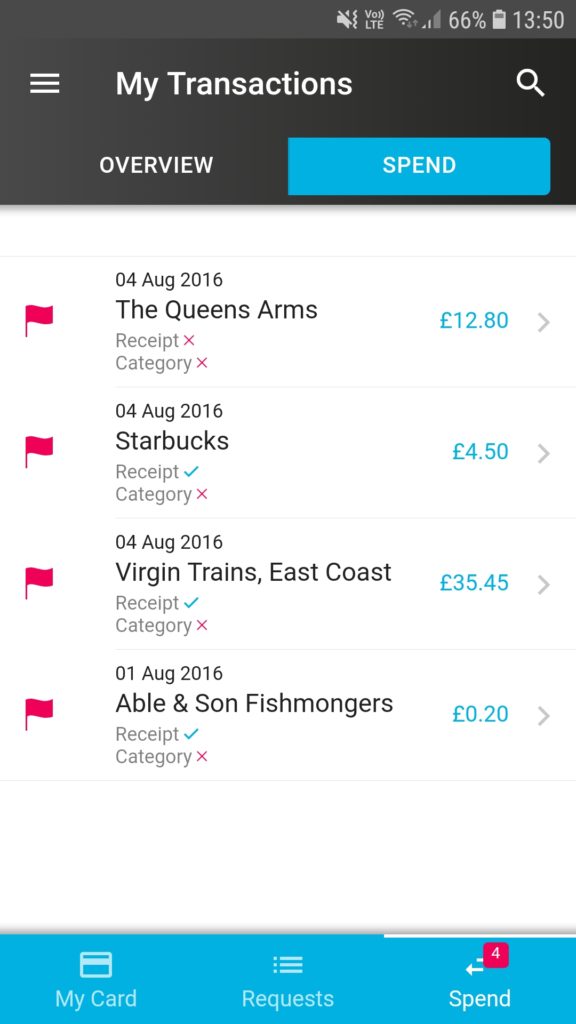 |
- In “My Transactions” any listed transaction that does not have a spend category selected will have a red flag
- Tap on the transaction that you want to view and you’ll be taken to its “Transaction Details” page
|
|
|
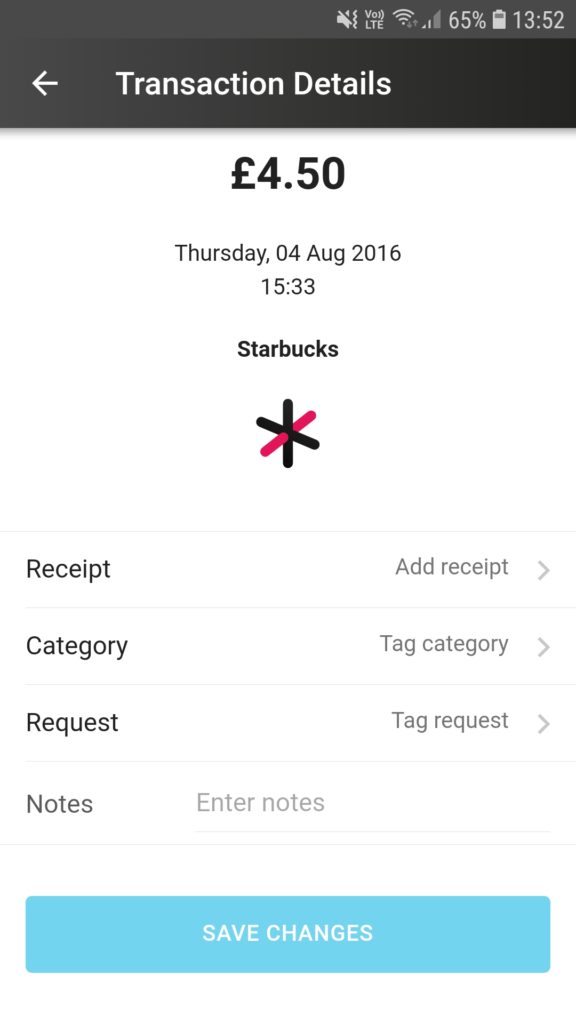 |
- In “Transaction Details” you can add a receipt
- To attach a receipt, tap on “Add receipt” and a pop-up menu will appear with 3 options
|
|
|
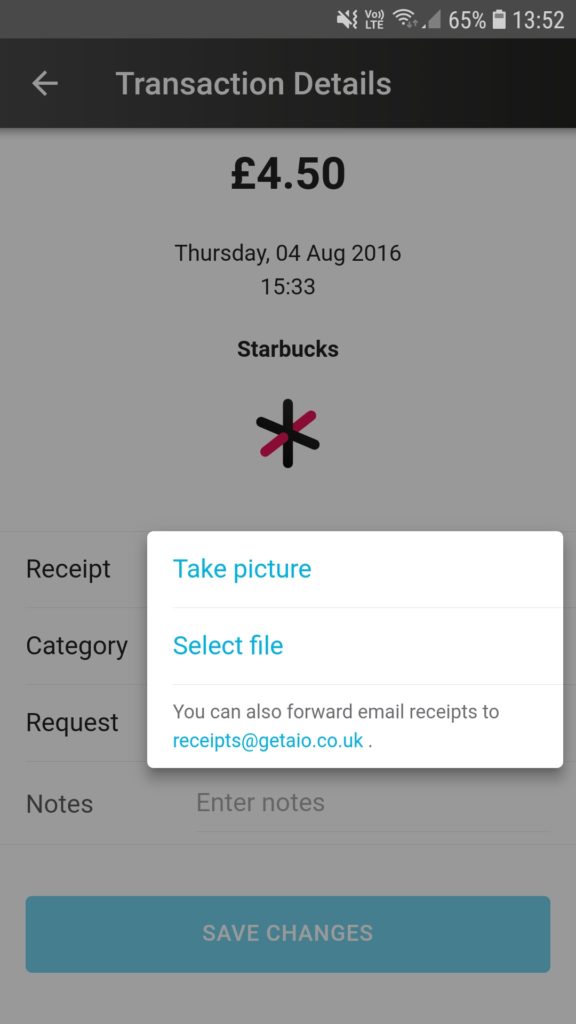 |
- If you tap on “Take picture” then you will be taken to your phone camera that you can use to take a picture of your receipt
|
|
|
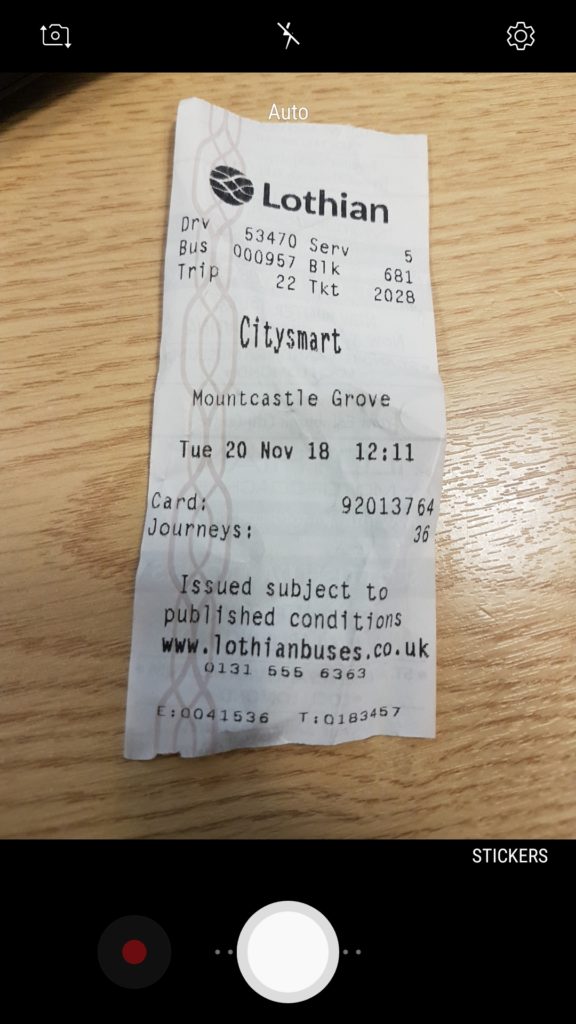 |
- Use your phone camera to take a picture of your receipt using your camera controls
|
|
|
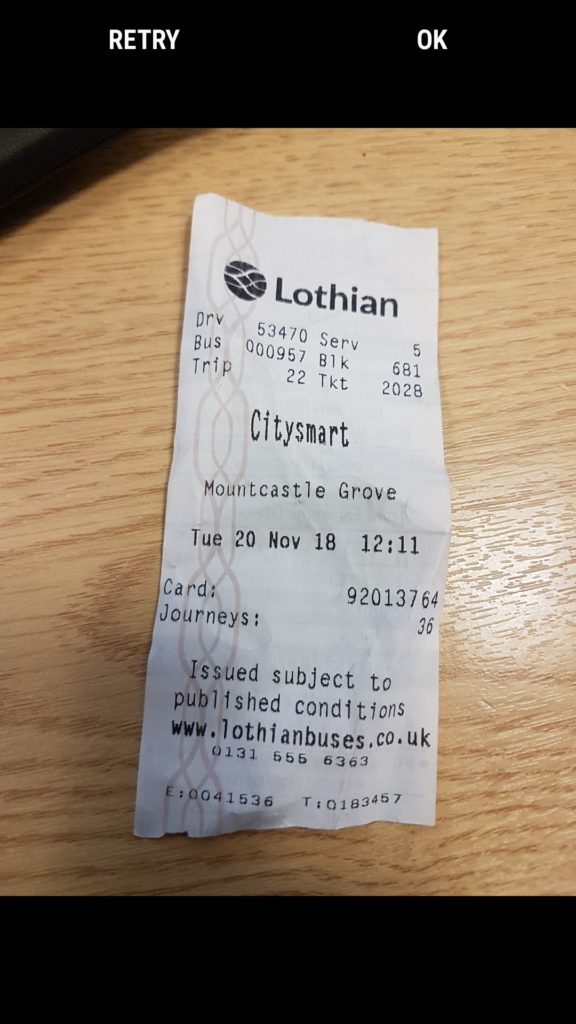 |
- If you’re happy with the picture, click “OK” and you’ll be taken back to the “Transaction Details”page
- If you want to take the picture again then click on “RETRY” instead and retake the picture
|
|
|
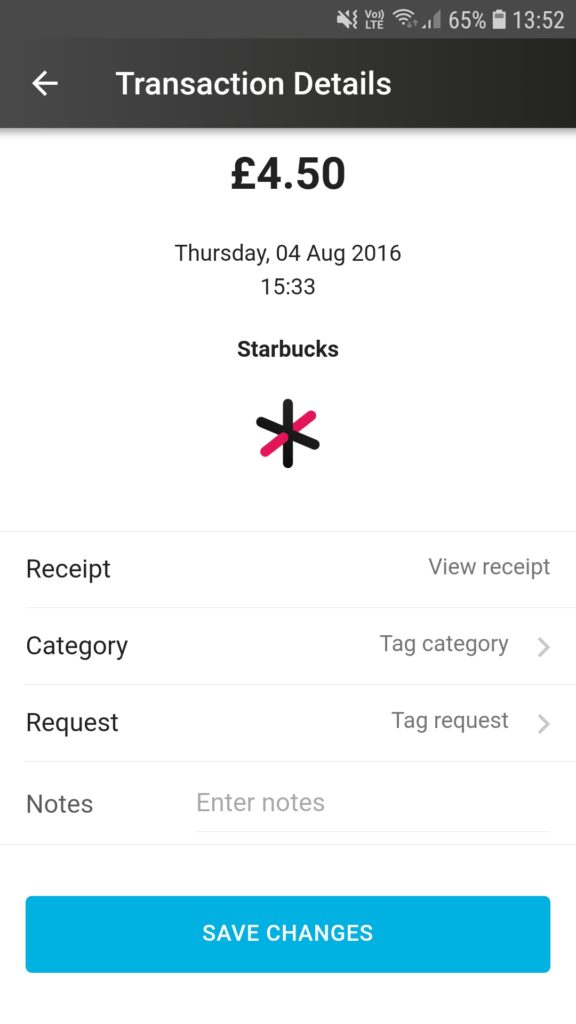 |
- Once you have made the desired changes, tap on the blue “SAVE CHANGES”button
- You can then view and/or delete the receipt by tapping on “View receipt”
|
|
|
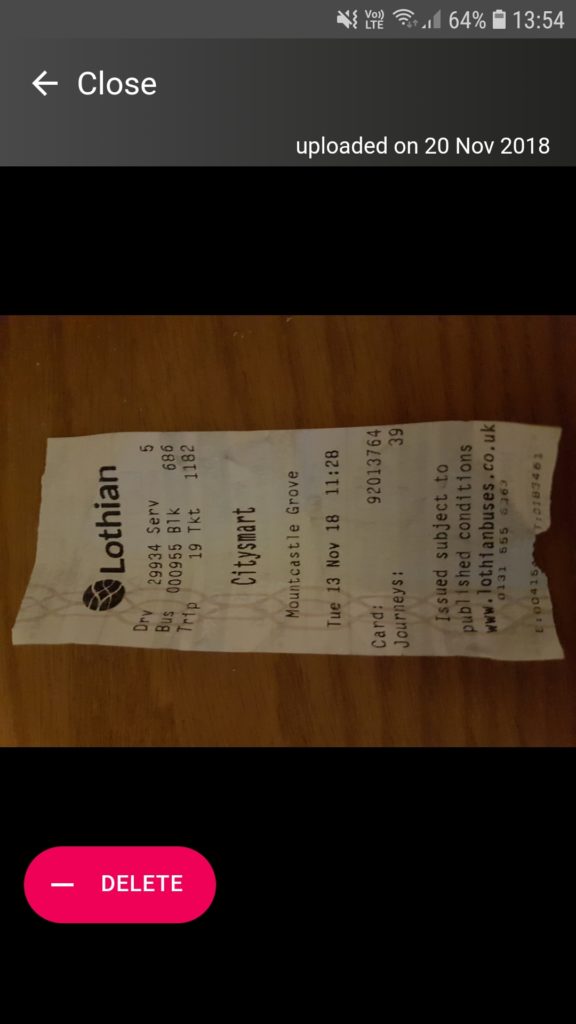 |
- If you want to delete the file tap on the “-DELETE” button on the bottom left corner
|
|
|
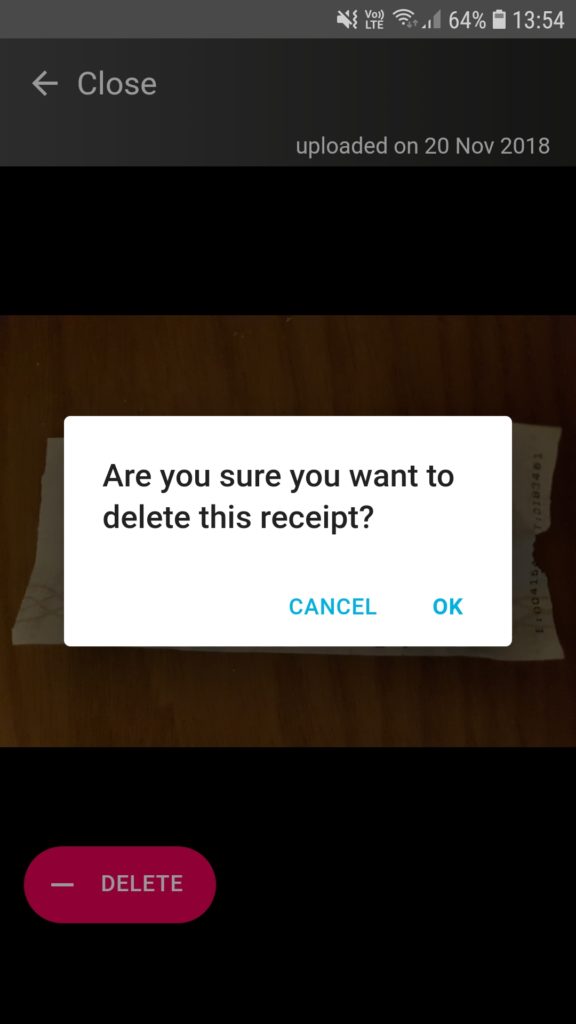 |
- A pop up will appear asking you to confirm your choice.
- Tap on “OK” to confirm deletion of file
|


