I. Connect aio* and Xero
1. Open the aio* app
Either on your phone or online
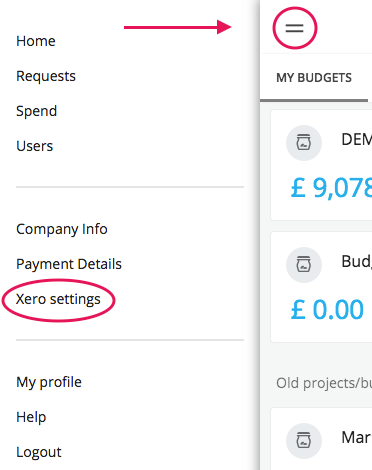
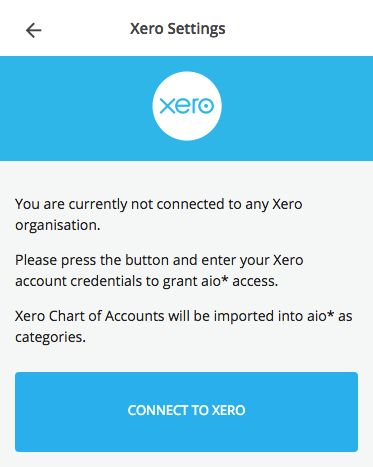
2. Open “Xero settings” from the menu
Please be aware that only admin-accounts can access this page
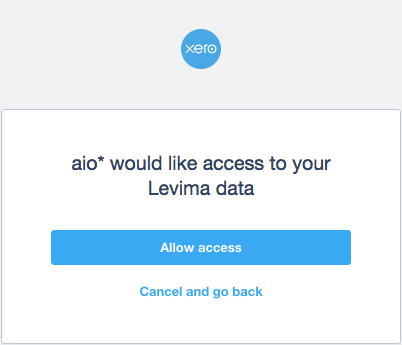
3. Tap or click on “Connect to Xero”
You will be asked to log into your Xero account on a separate page and to allow aio* access
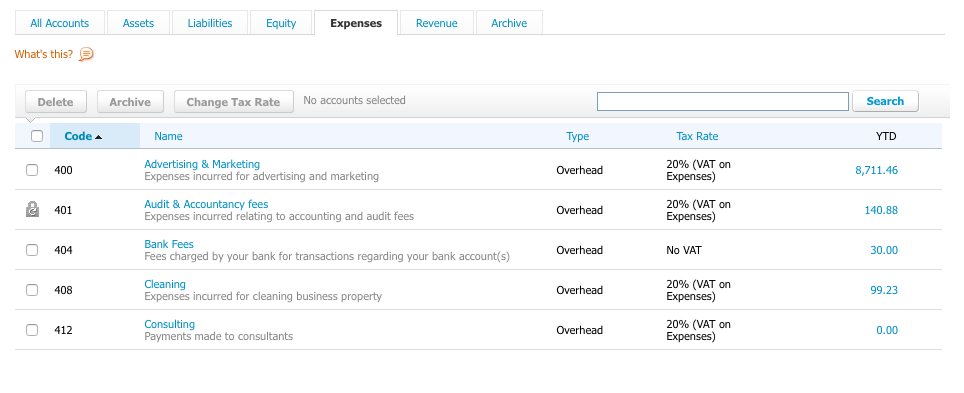
4. Connection established!
In “Xero Settings” you will now see some info about your connection.
Xero’s expense account codes with Type “Overhead” or “Fixed Asset” from your Xero Chart of Accounts have been imported into aio* as categories.
You and your co-workers can start tagging your transactions with these categories.

II. Tag aio* transactions with Xero account codes
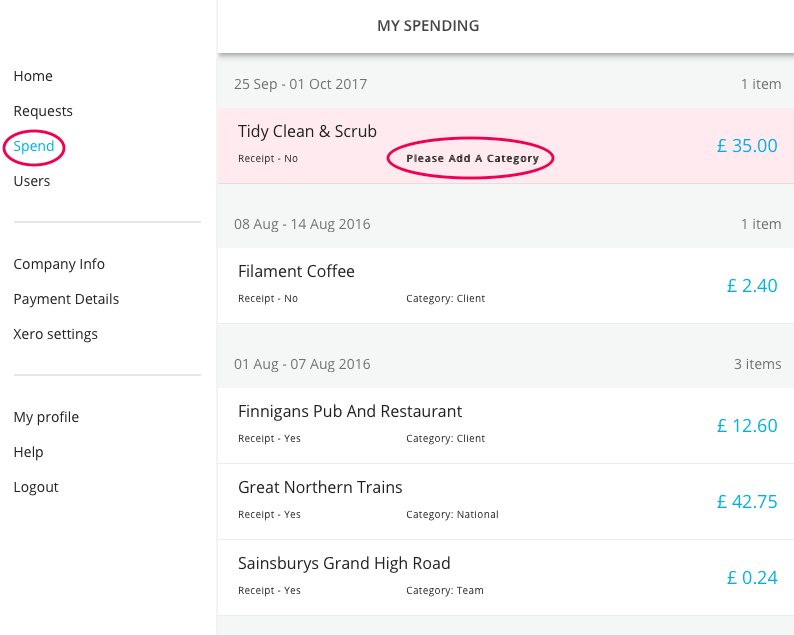
1. Open “Spend”
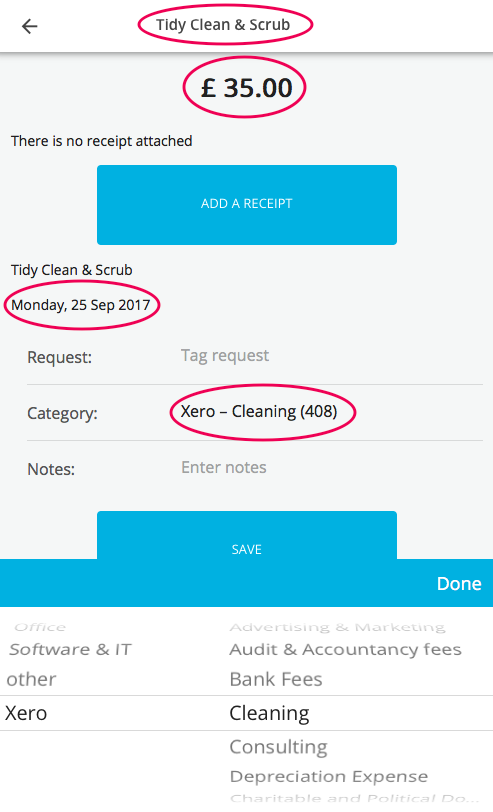
To check your own transactions for missing categories. Just tap or click on a transaction from the list.
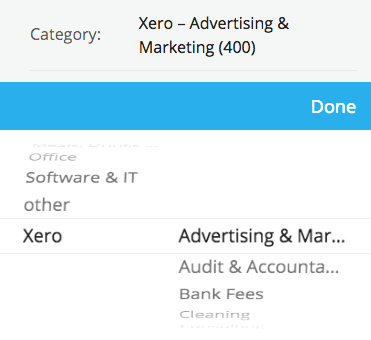
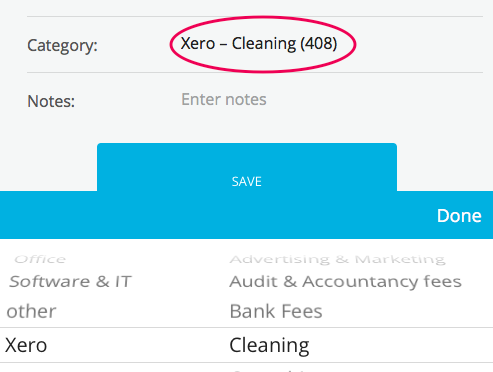
2. Select a category
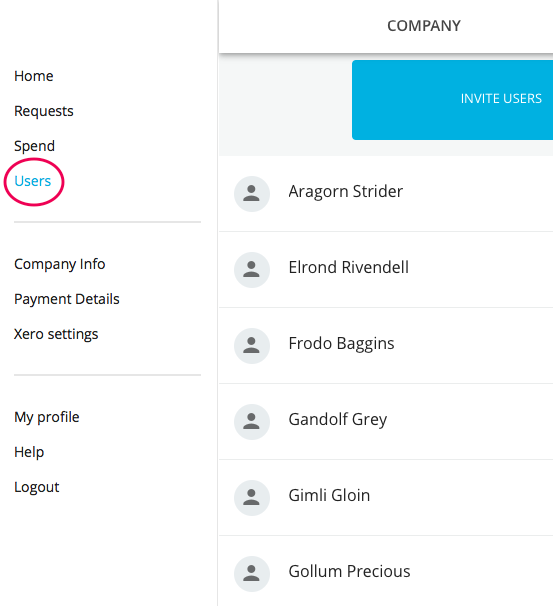
3. Open “Users”
For checking your co-workers’ transactions. You can either select categories yourself or remind your co-workers to tag their expenses.
III. Export aio* transactions into Xero
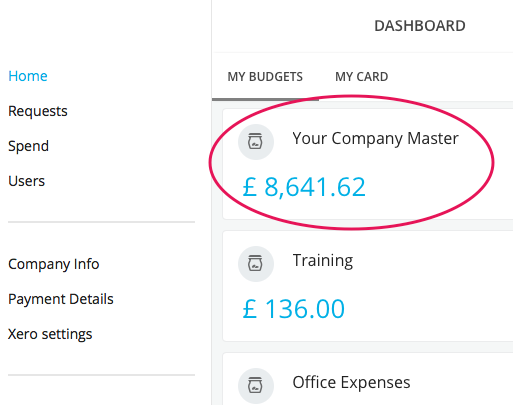
1. Select your Master budget
2. Go to “Stats”

3. Tap or click on “Send report to Xero”
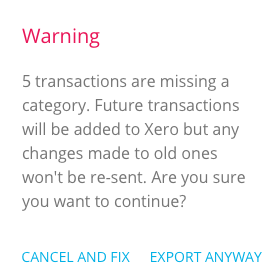
If any transaction is missing a category, you will be warned about this, so you have the chance to cancel and fix the issue.

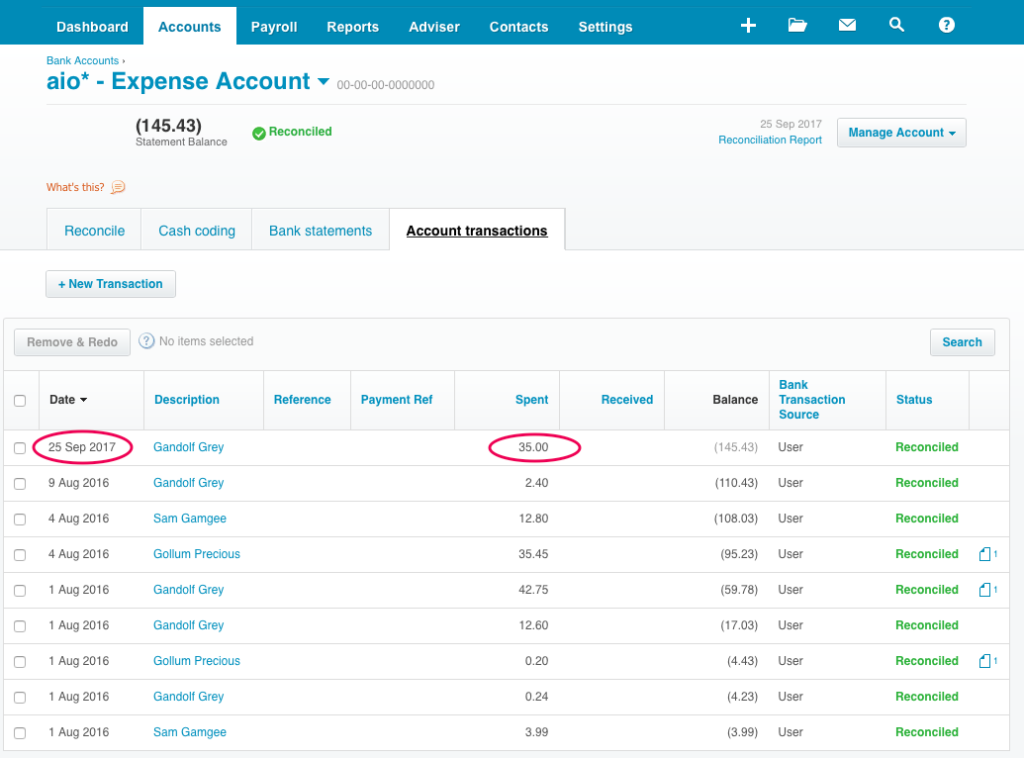
4. Review imported transactions in Xero
A new bank account called “aio* – Expense Account” will be created within Xero.
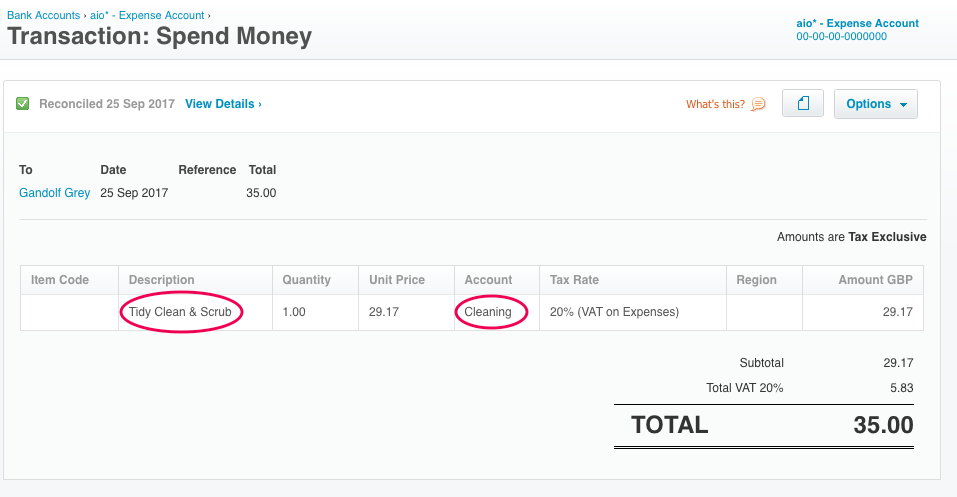
Here you will find all transactions of your organisation, which were just exported.
View the transaction details to check that the right Xero account code has been used.